Things You Didn’t Know You Could Customize for Your Online Course
You’re proud of your new course. You’ve poured all your knowledge into it, you’ve made sure it’s exactly what your customers or clients need… and you’re dang proud of it!
But now that it’s time to launch your new course, does it feel like it’s lacking a little pizazz? There are so many great platforms out there that help you bring your course to life, but all the moving pieces might feel a little zzzzzz. Boring.

So I’m going to share a little secret with you today: you can customize your course and many of the pieces that go along with it. Want to know which parts can be customized (and how)? Let’s dig in.
Worksheets
Like any good teacher you’re going to have worksheets for your course students, right? You can add a lot of personality and reinforce your brand with these, so don’t be afraid to customize them.
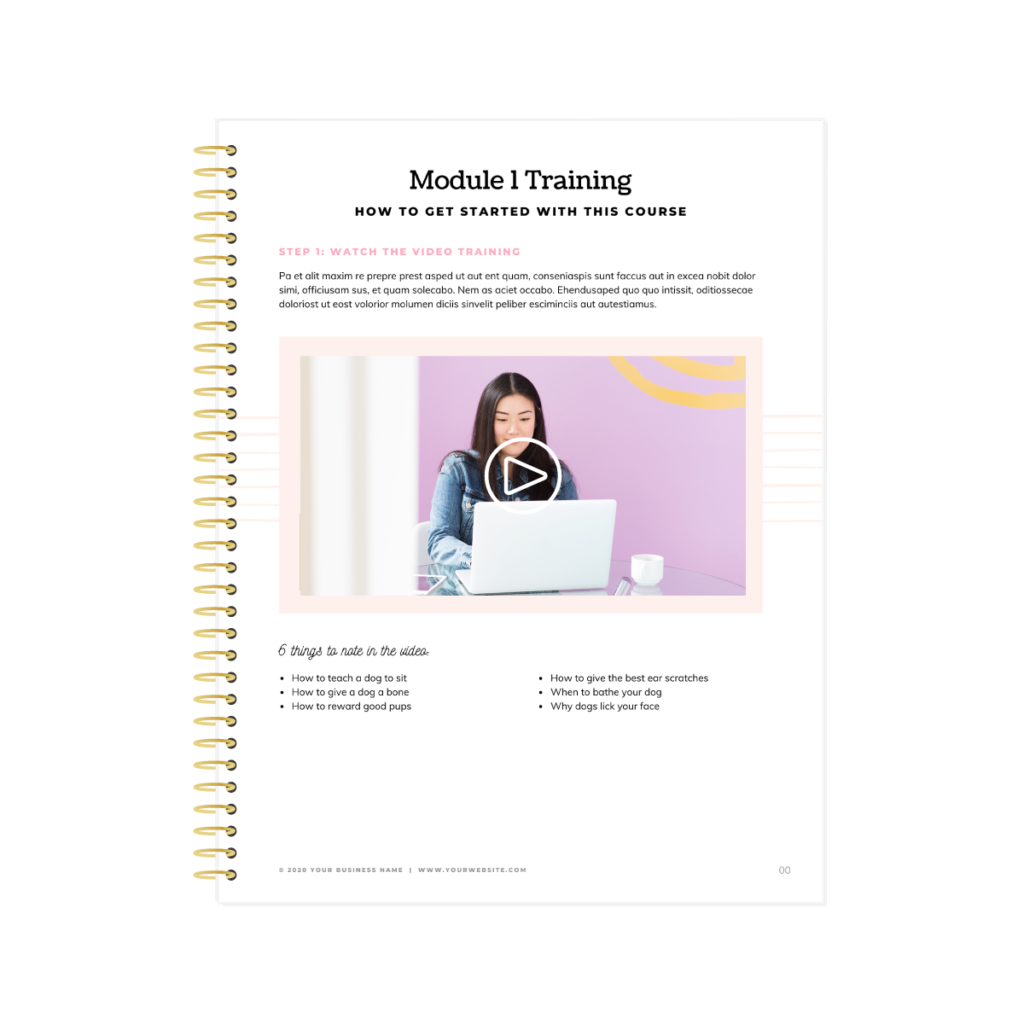
Some basic tips on how to customize your course worksheets include:
- Keep it simple. You don’t want the exercise or information to be overpowered by decoration, so focus on organizing that before you add in design and color.
- Don’t reinvent the wheel. Worksheets need to be ultra-user-friendly and self-explanatory so that students know exactly how to use them and don’t fall behind. Falling back on tried-and-true layouts like checklists, tables, and prompt boxes is better than trying to find a fun new way to get students engaged with your worksheets.
- Think about printing. Your students might print off your worksheets, so make sure your design and color schemes work in black and white, too!
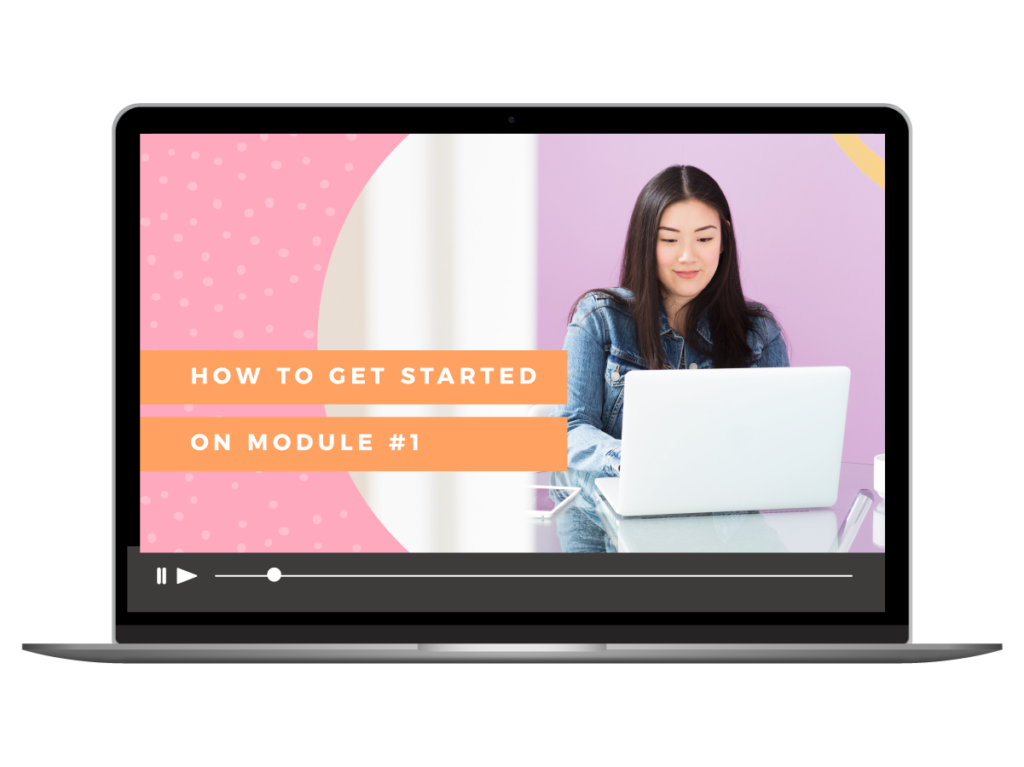
Video thumbnails and end slates
Most courses have some sort of video training element because it’s such a great way to deliver information. But if you’ve uploaded your course videos to each lesson, you may not love how they look with the first shot featured. (Why do they have to always be the most awkward shots?!)
So to eliminate that frustration, you can actually customize your video thumbnails and end slates, or the first and last “slides” students see when they watch your video. Video thumbnails can be uploaded to your course platform so you get a beautifully designed shot that looks professional and shows a pop of branding as students scroll through the course.
To customize your video thumbnails, you’ll need:
- A good screenshot from your video, or a logo/design for your course. Show your smiling face in your thumbnails! If you have a voiceover video, you can always add a brand photo or logo/design from your course.
- The number and title of the module or lesson. Let your students know what video they’re watching, and what’s included in it.
- Consistent design from one video to the next! Use a template for video thumbnails and end slates. You can change out the numbers and titles, and even use a new brand color, to make each video stand out while looking cohesive.
- Use end slates for homework or calls to action. Using an end slate template, you can let your students know what to do now that they’re done with a specific lesson or module. Keep it clean and simple, so they know exactly what to do next!
Slides
The days of terrible PowerPoint templates are long gone, but slides are still a super valuable tool to use in your course. Whether you create a recorded video with slides or include slides from previous trainings in your course, spiff them up a bit!
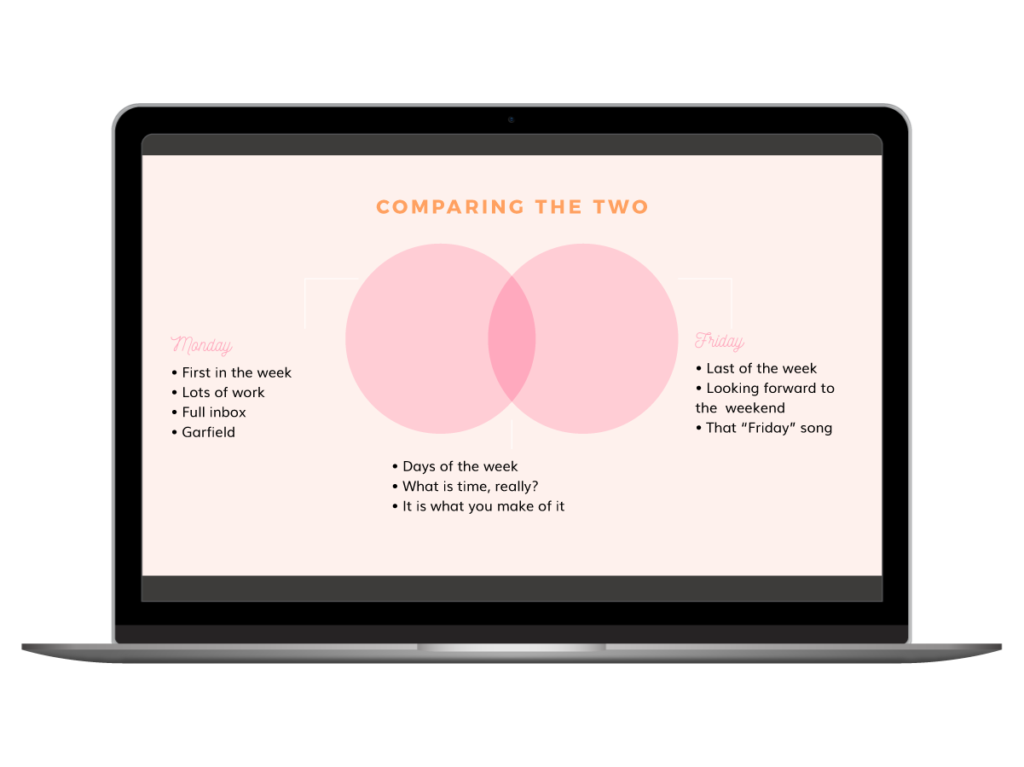
Ensure your slides tell a story and keep your students’ interest with these tips:
- Use clearly organized slides. Start with title and introduction slides, and then make sure your slides follow a logical order to present that lesson or module’s info. Students who learn best through reading might only reference slides in your training over video content, so make sure your biggest teaching points are outlined.
- Follow your brand’s design standards. Even if you don’t have a fully fleshed out visual brand, you can keep your slides simple and dynamic by keeping to the same colors, fonts, and styles.
- Keep copy and decorations minimal. Your students will only have a couple of seconds to look at each slide. Make sure the design, decorations, and copy are all simple so they can listen to the lesson or watch the video without distraction.
Newsletter and email headers
You have to tell your subscribers about this awesome new course you created, so why not make the email look freakin’ amazing before you hit send? Using a pop of color, your course name, and even your course logo (if you have one), you can make a newsletter header just the right size for your course promotion emails. You can also use this same header to communicate with students, so they know that the email is related to the course they’ve recently joined!
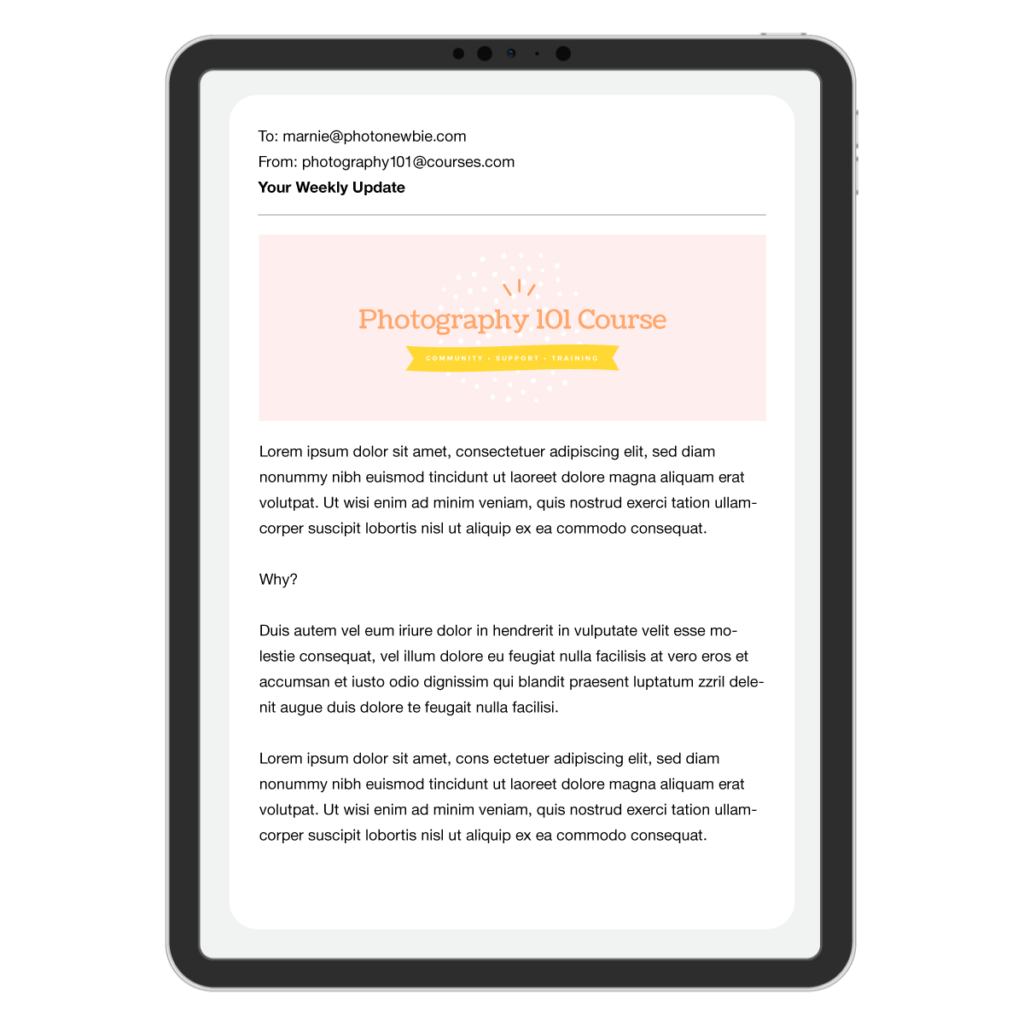
Here are a few elements of a successful course newsletter header:
- Keep it short and sweet. The purpose of your header is to signal that the content that follows is related to your course and your training. You’ll want that content to be the star of the show, so keep your header short (I usually use 1000px by 300px) so that readers are encouraged to move on to your email content
- Use your course logo or name. If you’re a coach or establishing yourself as a teacher, it often helps to include a photo or headshot of yourself, too!
- Keep mobile in mind. If your students are reading your email from their phones, your newsletter header will be scaled down to fit. Make sure you’re not including any details that are better read in the body of your email, and that anything in your header is large enough to be readable on a mobile device.
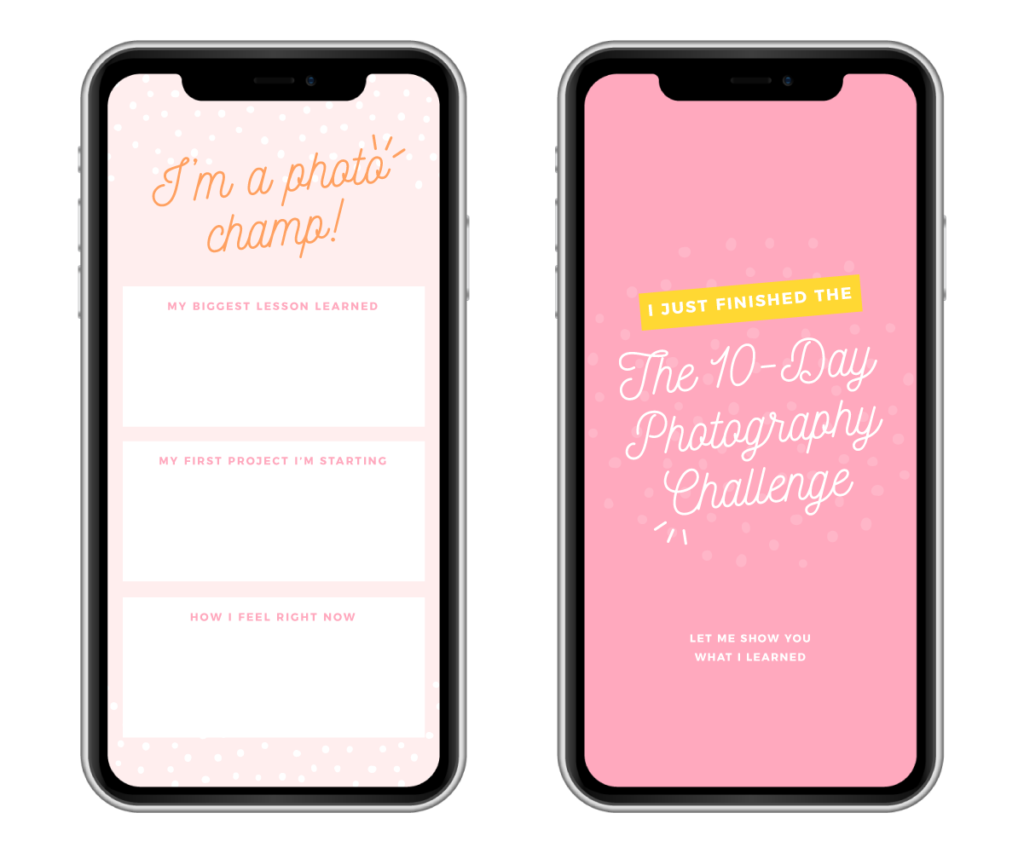
Social share graphics for students
You know that feeling when you purchase a new course or program and you’re just so dang excited to get started? Imagine if you had something to share on social media to tell people how excited you are. That’s why I love creating social share graphics for courses — they’re just a fun way to share in the excitement!
If you want to create social share graphics for your course students, here are a few fun ideas to try:
Course mockups
You and I both know your course is packed with juicy resources and some extra-special bonuses, but does your audience? To show everything that’s included when a student joins, you can create a course mockup.
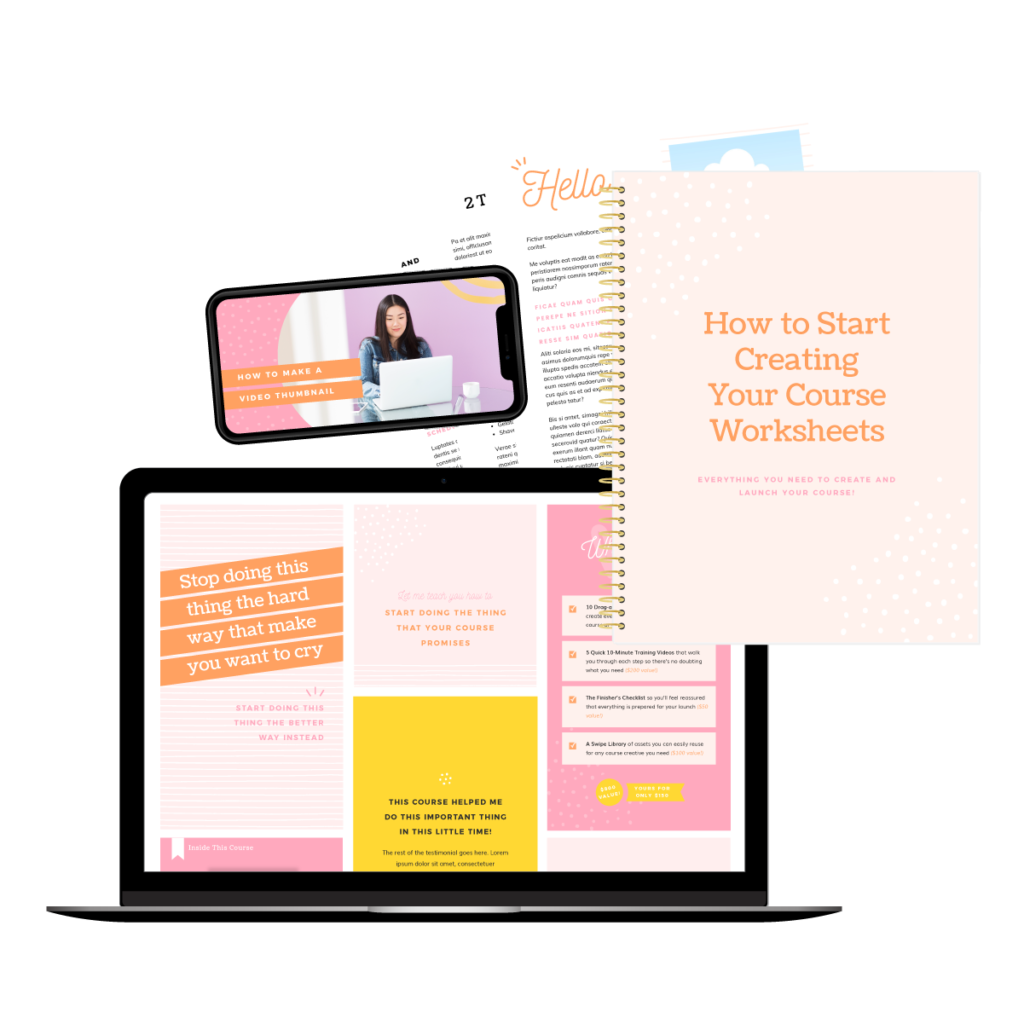
These are jazzy images that basically highlight the different elements of your course, and include desktop shots, worksheets, bonuses, and more. You can customize mockup images easily by using screenshots of your course, your video thumbnails, and images of all your beautiful worksheets!
One word to the wise, though? Make sure you find a mockup template that can be 100% customized. You’ll also want to make sure that you:
- Tackle this last so you know exactly what content to include and can pull screenshots from already-created assets
- Don’t fret about things that can’t be physically depicted. Even a little circle that calls out an inclusion is fun and helpful! (Ex: five bonus interviews!)
- Go as detailed or as simple as you want here. Some course creators like to take screenshots of everything as it will appear in the course. Others like “stand-ins” — simple background colors with text overlay that just says what’s included.
Order confirmation emails
Once a student has purchased your course, you want to make sure they get a confirmation email that lets them know how to get started. These are usually standard with your email provider or course platform, and they can be a little… cookie-cutter. Whomp whomp.
Instead of delivering a generic confirmation email, customize yours in ways that reflect your brand and make your new student feel just as excited as you are! Here are some of my favorite tweaks:
- Use a fun subject line. Be gone, “Order Confirmation” subject lines! Show some personality. I’ve seen subject lines like, “Ooooh, welcome to the party!” or “Hot n’ fresh, here’s your [course name] access!”
- Update for brand colors and fonts. Your regular newsletters and emails use your branding, right? Your confirmation email should be no different! This is also a fun place to add in your brand logo, if you created one.
- Include images or gifs. On top of giving your students their confirmation info, you can include a cute social share graphic or a funny gif that shows how excited you are.
I know, I know. It feels like a lot!
Customizing the different elements of your course is the best way to make it look as good on the outside as it is on the inside. But that doesn’t mean it’s super easy to just *POOF* customize all the graphics and materials you’ll use.
If you’re reading this thinking, “Gee that’s great, but how the heck am I supposed to actually create all this stuff?” I hear you. Designing course materials and promotional graphics might feel like a whole ‘nother project, and you just finished one!
That’s where the Complete DIY Course Design Kit comes in.
The Complete DIY Course Design Kit has everything you need to make your course look professional, on-brand, and as smart as the content inside it. You’ll also get your graphics designed in less time and with less drama because all templates are 100% customizable, using just a free Canva account! (Yes, for real!)
All you have to do is choose your design pack and get started.
What’s inside the Complete DIY Course Design Kit, you ask?
A bunch of goodies! Like…
✴️ 32 social graphic templates (+ a training video to help you customize them), including…
- 14 Instagram Stories templates (from title graphics to offer stacks to testimonials and more!)
- 14 square image templates
- 3 Pinterest image templates
- 1 Facebook cover template
- 2 video thumbnail templates (to use for module video thumbnails, or even the cover of your course!)
✴️ Your Course Design checklist
✴️ An 18-page workbook template (+3 training videos on how to navigate Canva and make these worksheets your own)
✴️ 3 pages of additional prompt/design options for the workbook (i.e. scale ratings, multiple choice questions, flow charts, and more!)
The best part? Each element of these templates is editable. No random icons you don’t want, no stock photos that are totally off-brand. Just your course, your content, and beautiful design. Easy peasy! Plus, you can easily resize any of these designs to fit your needs.
Want to start customizing your course today, but don’t want more work (or late night crying sessions)? Check out the Complete DIY Course Design Kit. You can choose from five bold design packs and get everything you need delivered right to your inbox today!