Five Things to Look For When Photographing Product Shots + Behind the Scenes at the Cultivate What Matters Summer Shoot
An art director’s job at a photo shoot is to anticipate how the photos will interact with artwork and text later in the design process, and to direct the stylists and photographer toward creating a photo that is best suited for the medium and specifications of its final publication.
If stylists are like the movie stars of the product shoot world, I like to think art directors are the…well, directors. Just call me Baz Luhrmann. 🙂
Cultivate What Matters asked me to join them for their summer product shoot to help style flat lays, but I also came alongside their awesome photographer Gina Zeidler to do exactly what an art director does and make sure they’re getting photos that will be useful for catalogs, advertisements, Instagram, shop graphics and more for the next season. Here are the five things I keep an eye on at photo shoots, along with some examples of what we shot that day.
1. How much negative space is around the image?
One of the most fun things we can do with product images is overlay text and artwork onto it, making the product integrate seamlessly with information or branding. Negative space is imperative to make this happen, not only to leave room for additional artwork you add later, but to allow that artwork to interact with the product and feel like it was a physical component of the shot. It’s not always as simple as getting a wide shot of a styled product shot — that solution often leaves the product “floating” on a large canvas, separate of the artwork that goes along with it. Instead, try removing some propping from one side of the product.
Want a great example of what this looks like in its final form? Take a look at the 2018 Product Guide I created for Cultivate last year.
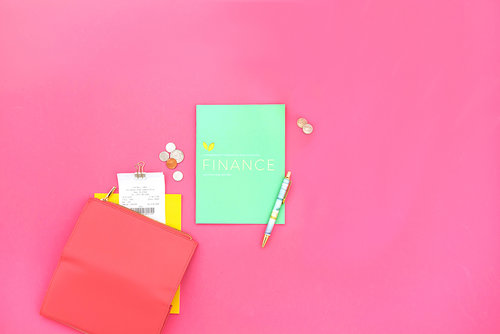
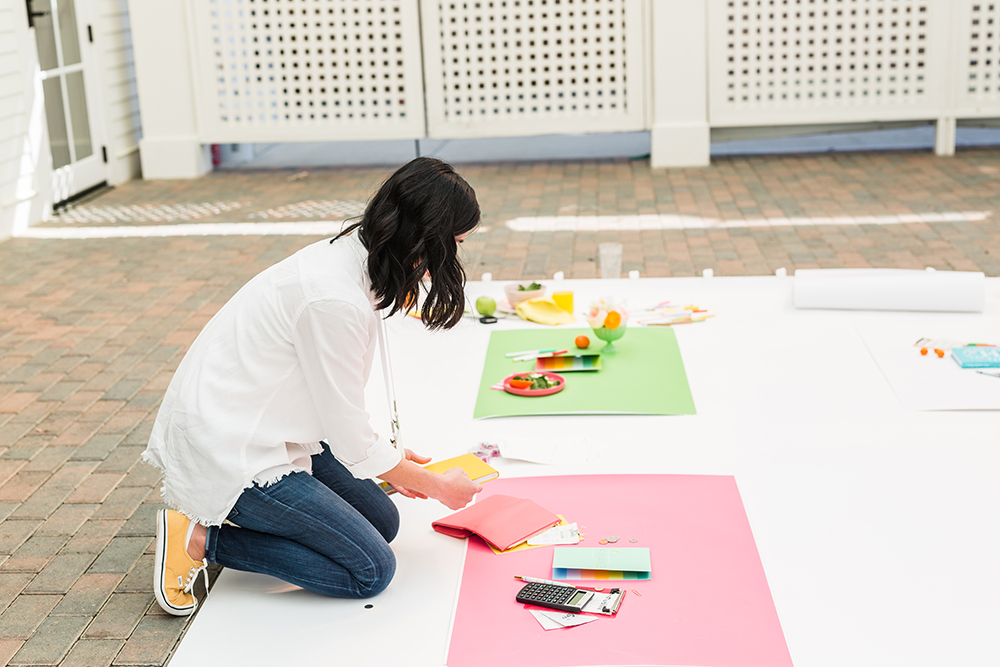
Want in on a secret? Cultivate photo shoot schedules are usually packed, so we give ourselves permission to take shortcuts on the day of. Instead of taking the time to remove props on one side of this new Finance Goal Guide, take a photo, reset the props and do the same on the opposite side, we shot the single photo on the left. We leave just enough negative space between the product and its props to edit out items as needed. It’s a bit more work on the post-production end, but it ensures we’re able to take all the shots we need to be able to play with later.
2. Is anything cropped out?
In general, I like to ask photographers to shoot wider than normal, leaving white space around all props. Even if we end up cropping in later, we have the option to use the original photo for other pieces of artwork, with all objects intact. This gives designers the freedom to use image in a way the best suits the design, rather than being forced to place the image where it makes sense for an object to be cropped out.
*If you’re asking your photographer to shoot wider than normal, make sure the photo quality still enables you to crop in to your ideal specs without loss of pixel information or quality.

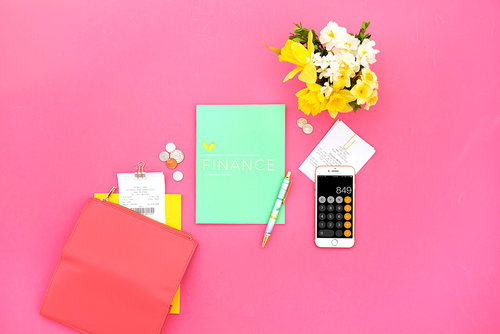
3. Is everything in focus?
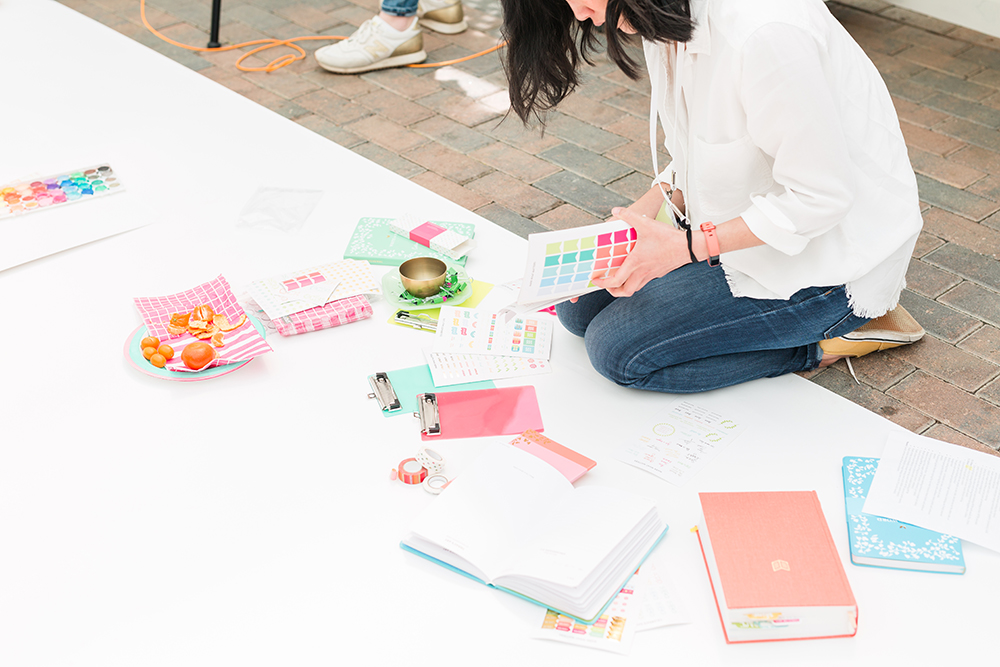
You might be surprised to hear that the answer can be “no!” Your photo style might dictate a narrow depth of field that puts your product in focus, but things in front of or behind it slightly blurry and out of focus. On the other hand, you may want a wider depth of field, with everything in focus. In the photo above, we opted for a higher aperture and wider depth of focus so that the flowers would also be in focus.
4. Will the shot be horizontal or vertical? What angle should it be shot?
Ask yourself where you’ll be using the final image. Facebook cover images and shop sliders or headers dictate a horizontal shot. Instagram and Pinterest call for vertical shots. Using the images for everything? Shoot and style for both, or make sure you have plenty of white space available to play with later.
You’ll also want to ask what angle best displays the product. Flat products like stationery and books work well in top-down flay lays. Other products that are difficult to lay down, like mugs, bottles, and oddly-shaped items might do best positioned standing on a sweep and shot head-on.
5. What is the scale of the propping around the product?
The product is always the focus, right? Your stylist (that might be you!) will position props in a way that should support, but not distract from the product. However, if you’re cropping the photo and cutting props out of the frame, the shape and scale of those props change, affecting how your product is displayed. An easy trick? Take a quick photo of the setup on your phone, do a rough crop to the specs you anticipate, and see what props aren’t reading well or are taking focus away from the product.

A peek at all the test photos we took on my phone as we styled!
Behind the scenes at the Cultivate What Matters summer product shoot!
This team is so creative and fun. Being invited to help at this shoot made my week. I loved working with old friends and learning how to best serve them, elevate what we had done before, and pick up on new tips from Gina Zeidler.
The summer collection that we shot launches TODAY! Go poke around the shop and explore their new goal guides, Write the Word journals, and more 🙂
Behind the scenes photos by Traci Huffman.

-
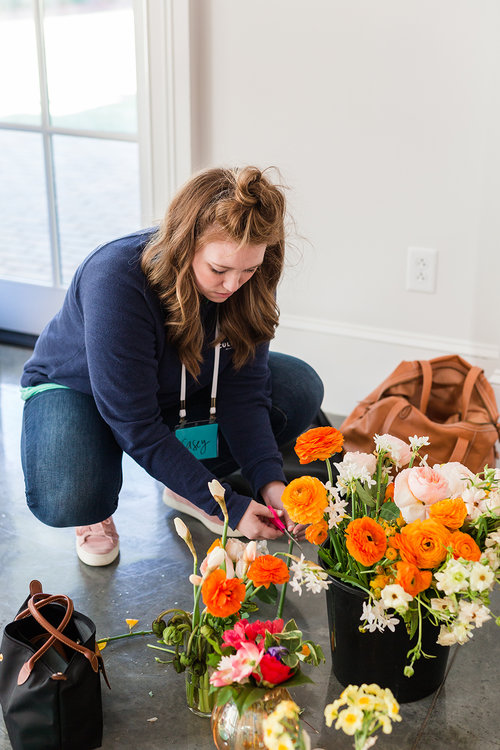
- Cultivate’s designer, Casey working her magic with shoot florals.
-
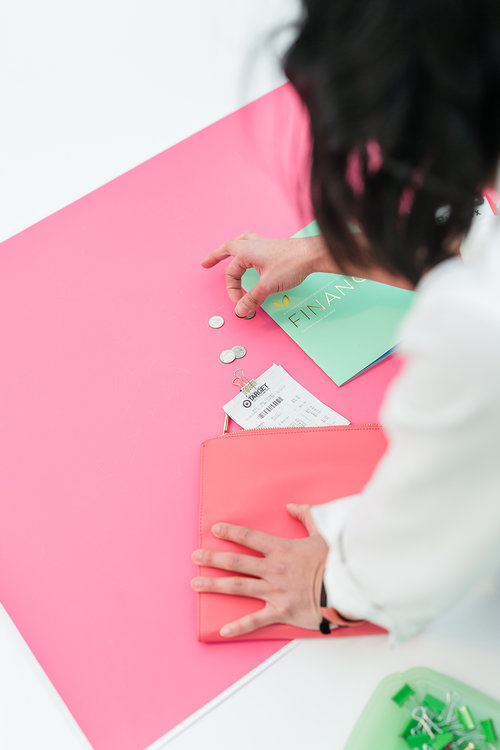
- Styling the finer details of the Finance Goal Guide flat lay.
-
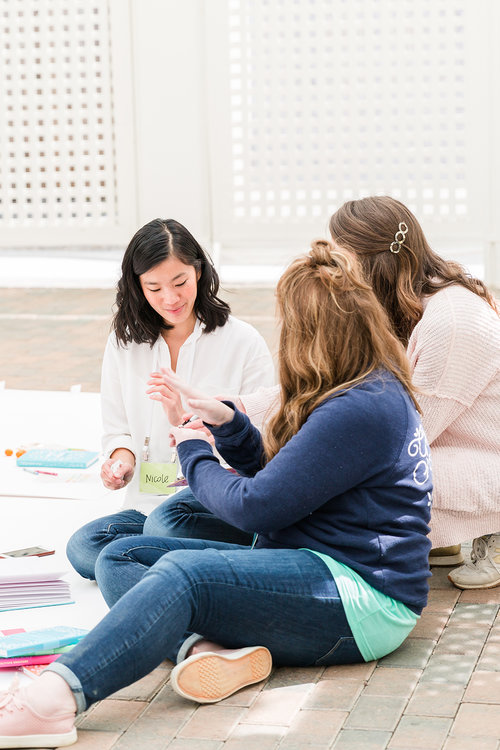
- Reviewing and clarifying needs from our shot list.
-
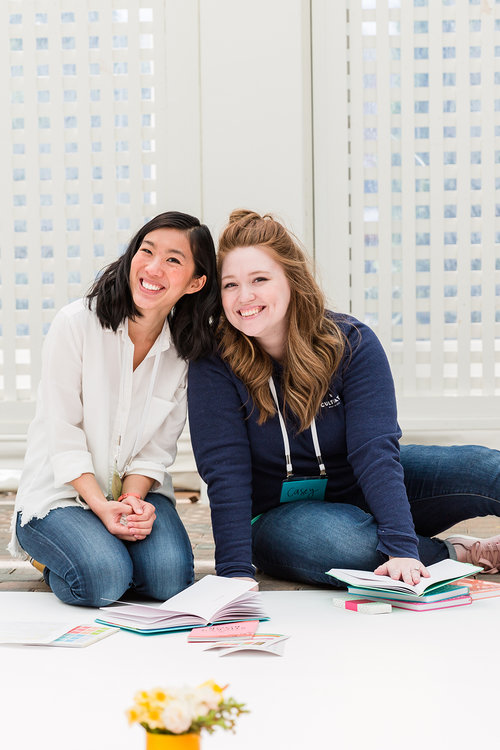
- Being besties with Casey.
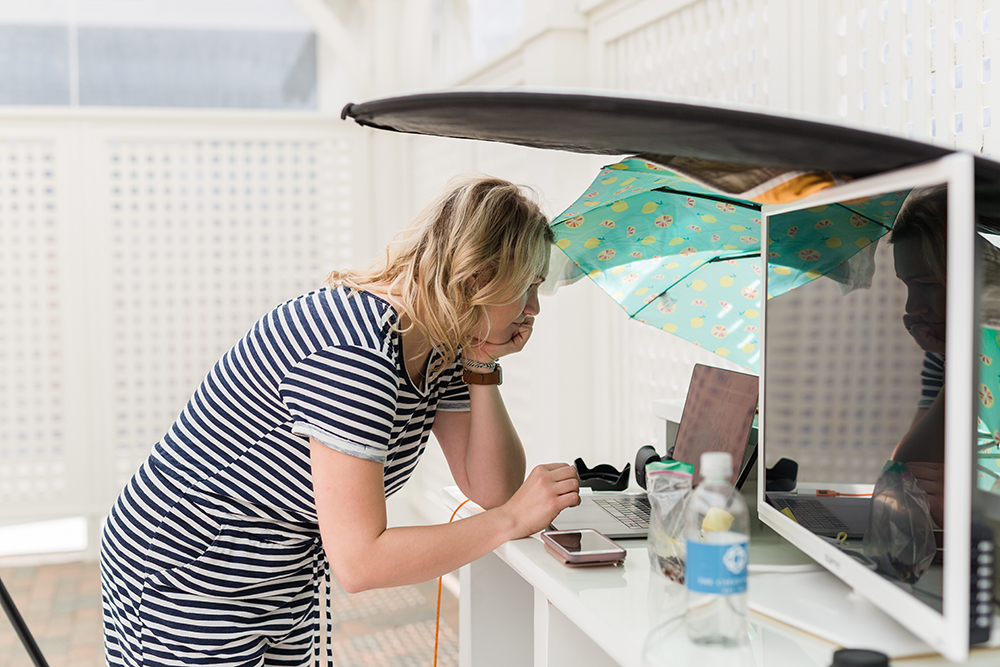
Gina Zeidler working her magic and reviewing each shot for lighting and clarity.
The mess of props before it all comes together.
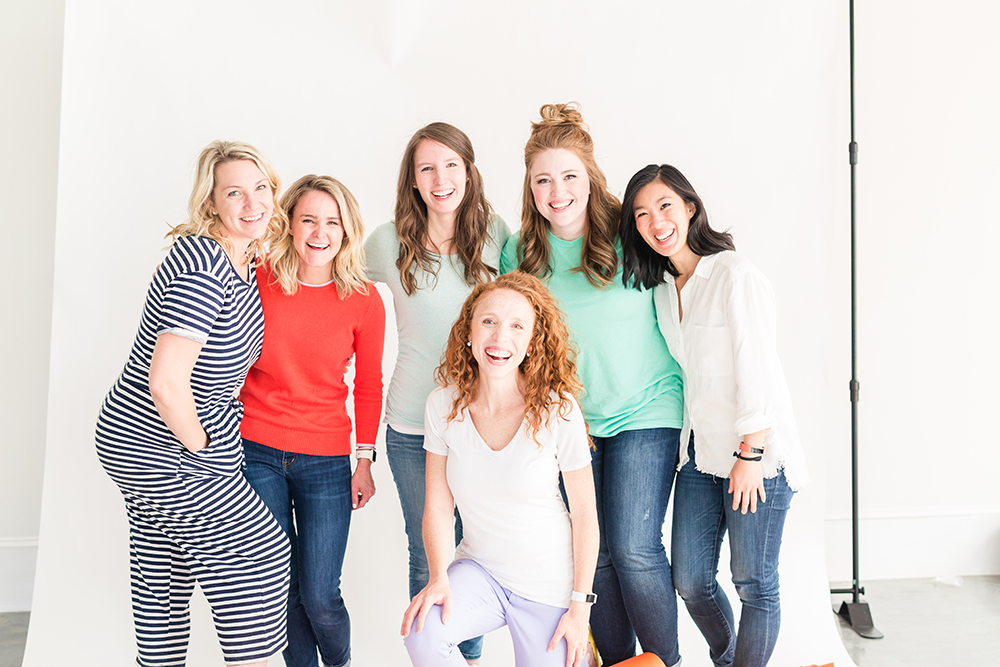
A dream team!


